
Creating your first applet
In order to create an applet, you will first need to create or have a space. Applets are specific to a space.
Create your applet
- Select a space and click on the "APPLETS" button located near the "DASHBOARD" button.
- On the "Manage Applets" screen, click Templates a new applet. You can also click New Applet to create a new applet from scratch but we recommend you to use the Templates button to start with some template and customize it instead of creating a new one from scratch.
- Choose your Template and confirm. Your new applet will be created.

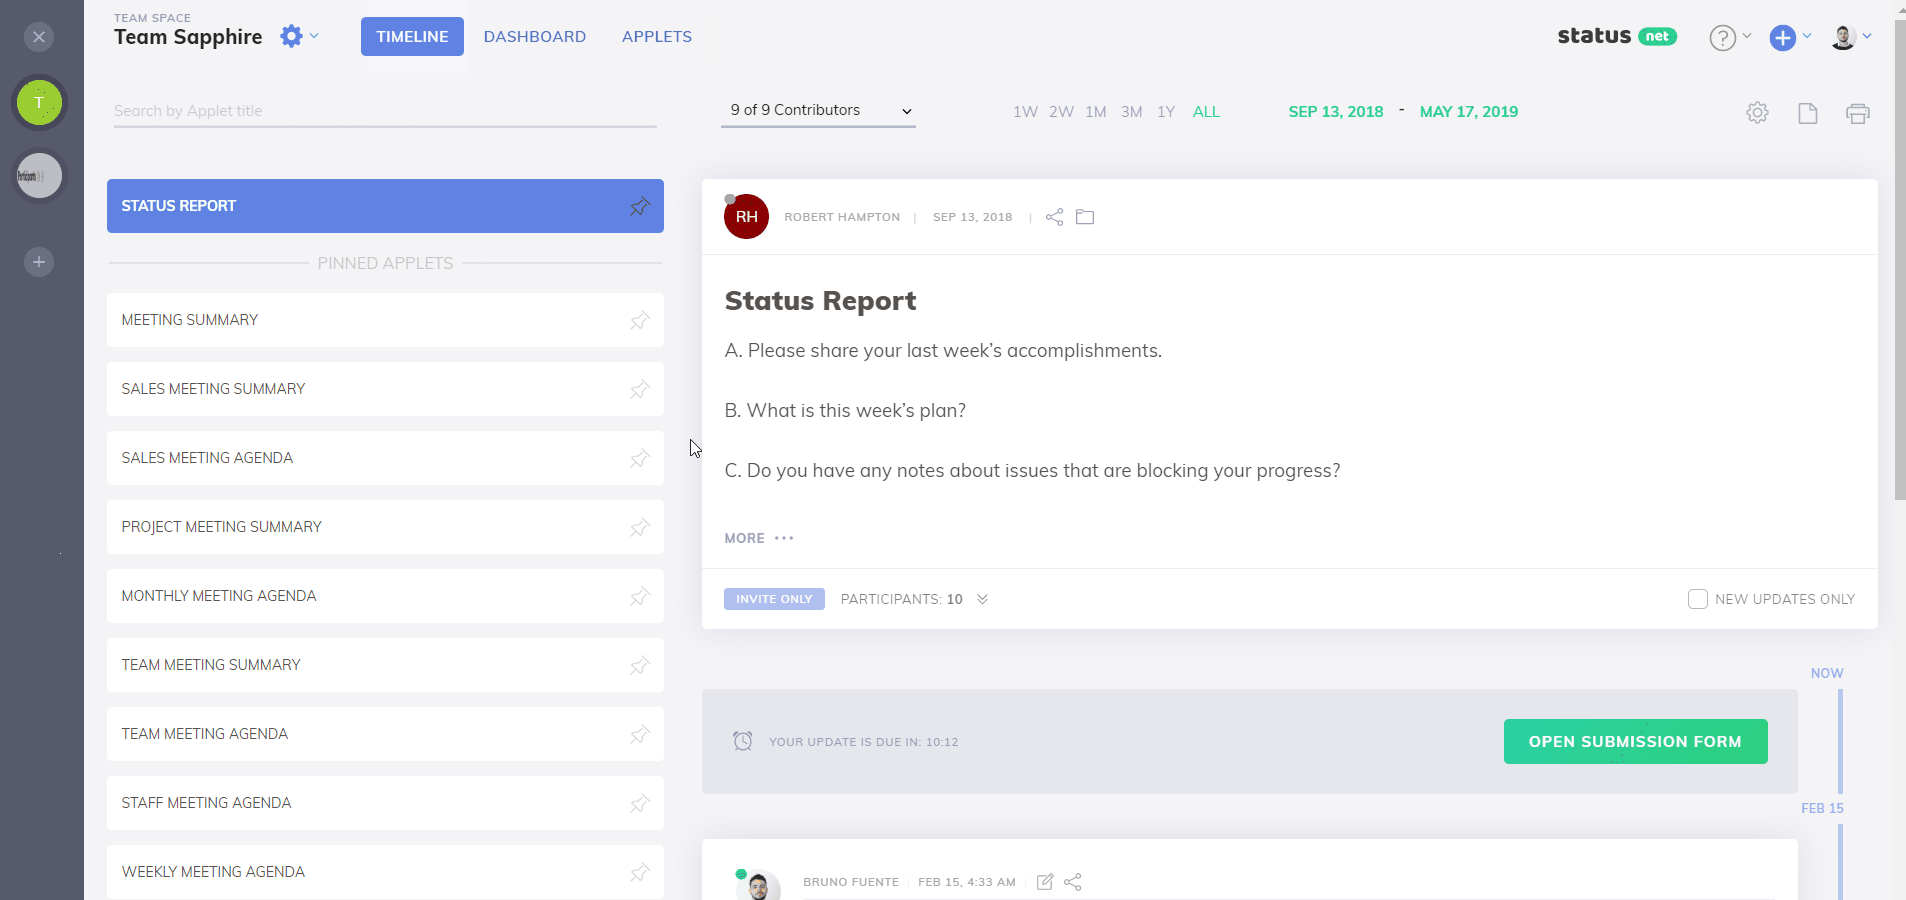
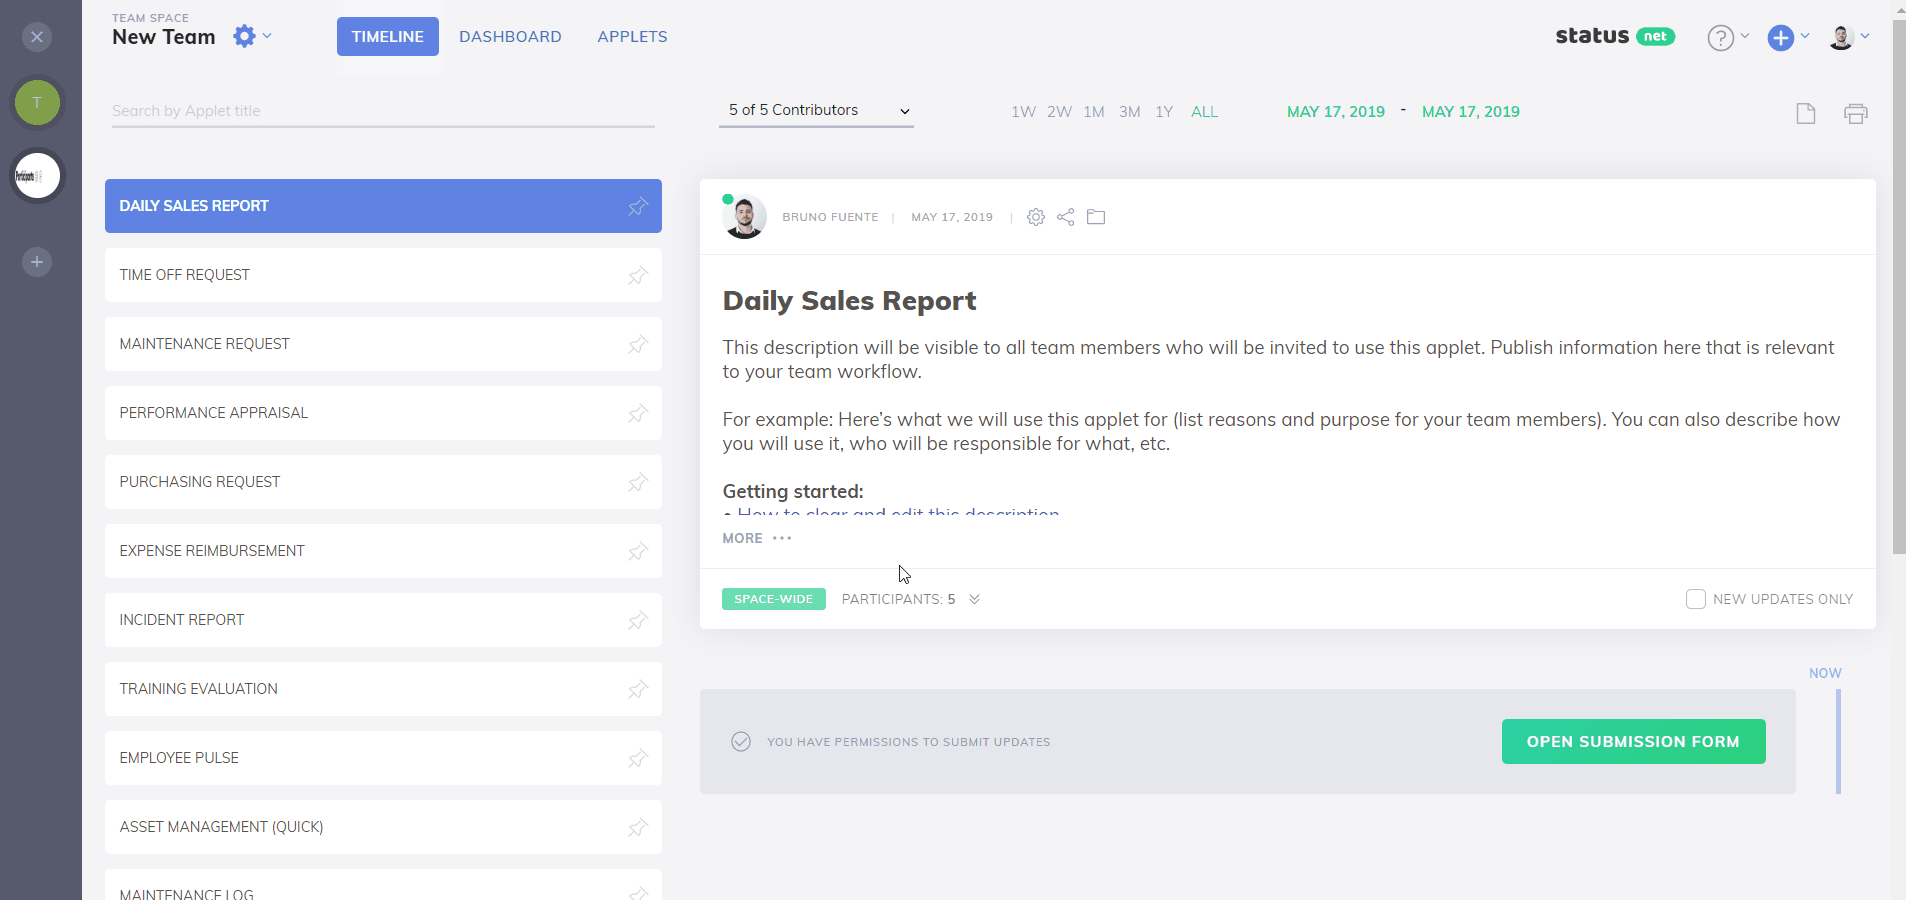
- To add a description to your applet, select the General tab.
- Provide a short description, purpose, or any additional information about your new applet.
- Customize the form if needed.
- Click Save.
Add your Applet Users
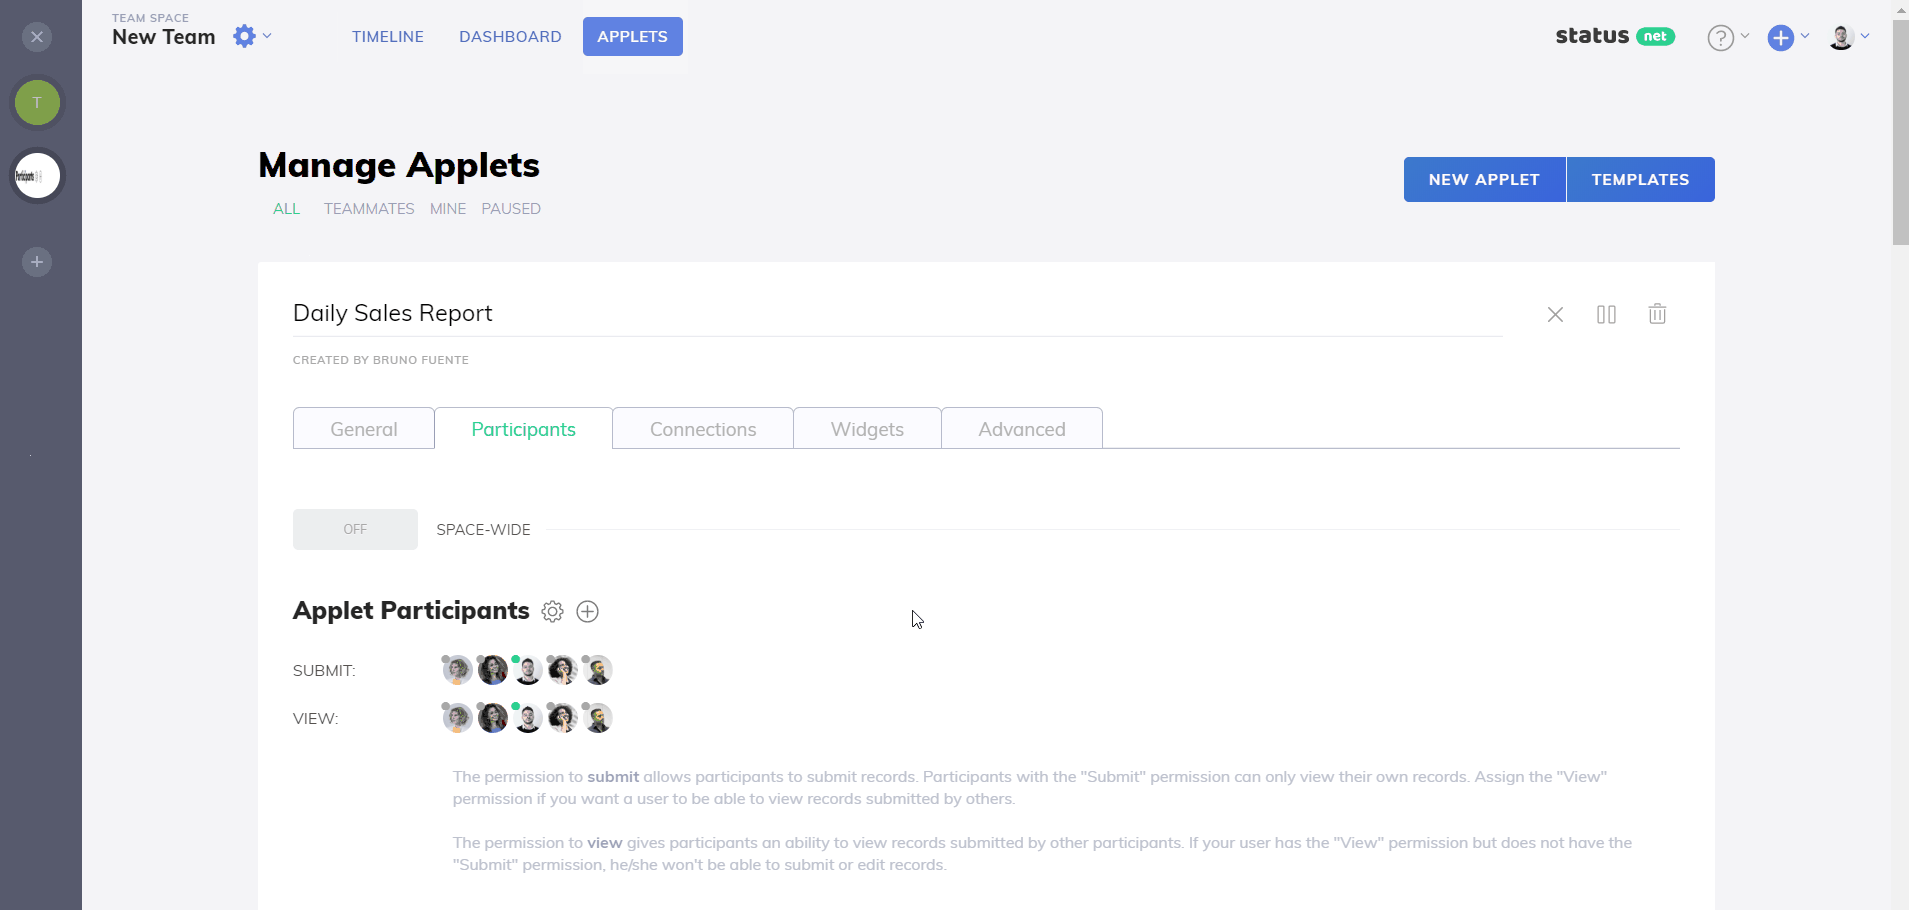
- On the Manage Applets page, select your applet and click the Edit applet > Participants tab.
- Click on the Add applet participants icon.
- If your applet participant is already registered on ProsperForms, enter their name or username.
- If your applet participant is not yet registered on ProsperForms, enter their email address.
- To finish adding the participant to your applet, you need to set their permissions:
- Check Submit if you want to allow them to submit records, edit records, attach files. They will only be able to view their own records.
- Check View if you only want them to be able to view records submitted by other participants.
- Check both Submit and View to allow them to view all records, as well as submit and edit records, attach files.
- Click Add.

Add Multiple Applet Participants
- Select the Participants tab.
- Click on the Add applet participants icon.
- Click the 'Want to add many people at once?' link.
- Enter all your team members' email addresses separated by commas.
- Click Add.
You can also setup regular reminders for contributors - click here to learn how