
Custom Webhooks
Your ProsperForms applet can receive incoming webhook messages from other apps.
You will need to configure both ProsperForms Platform applet and a third-party app so that the both apps would "talk" to each other. You can connect more than one web app to automatically create and post records on your applet's Timeline.
Step 1: Configure your applet
- Login to your ProsperForms Platform account. Select your space on the left sidebar.
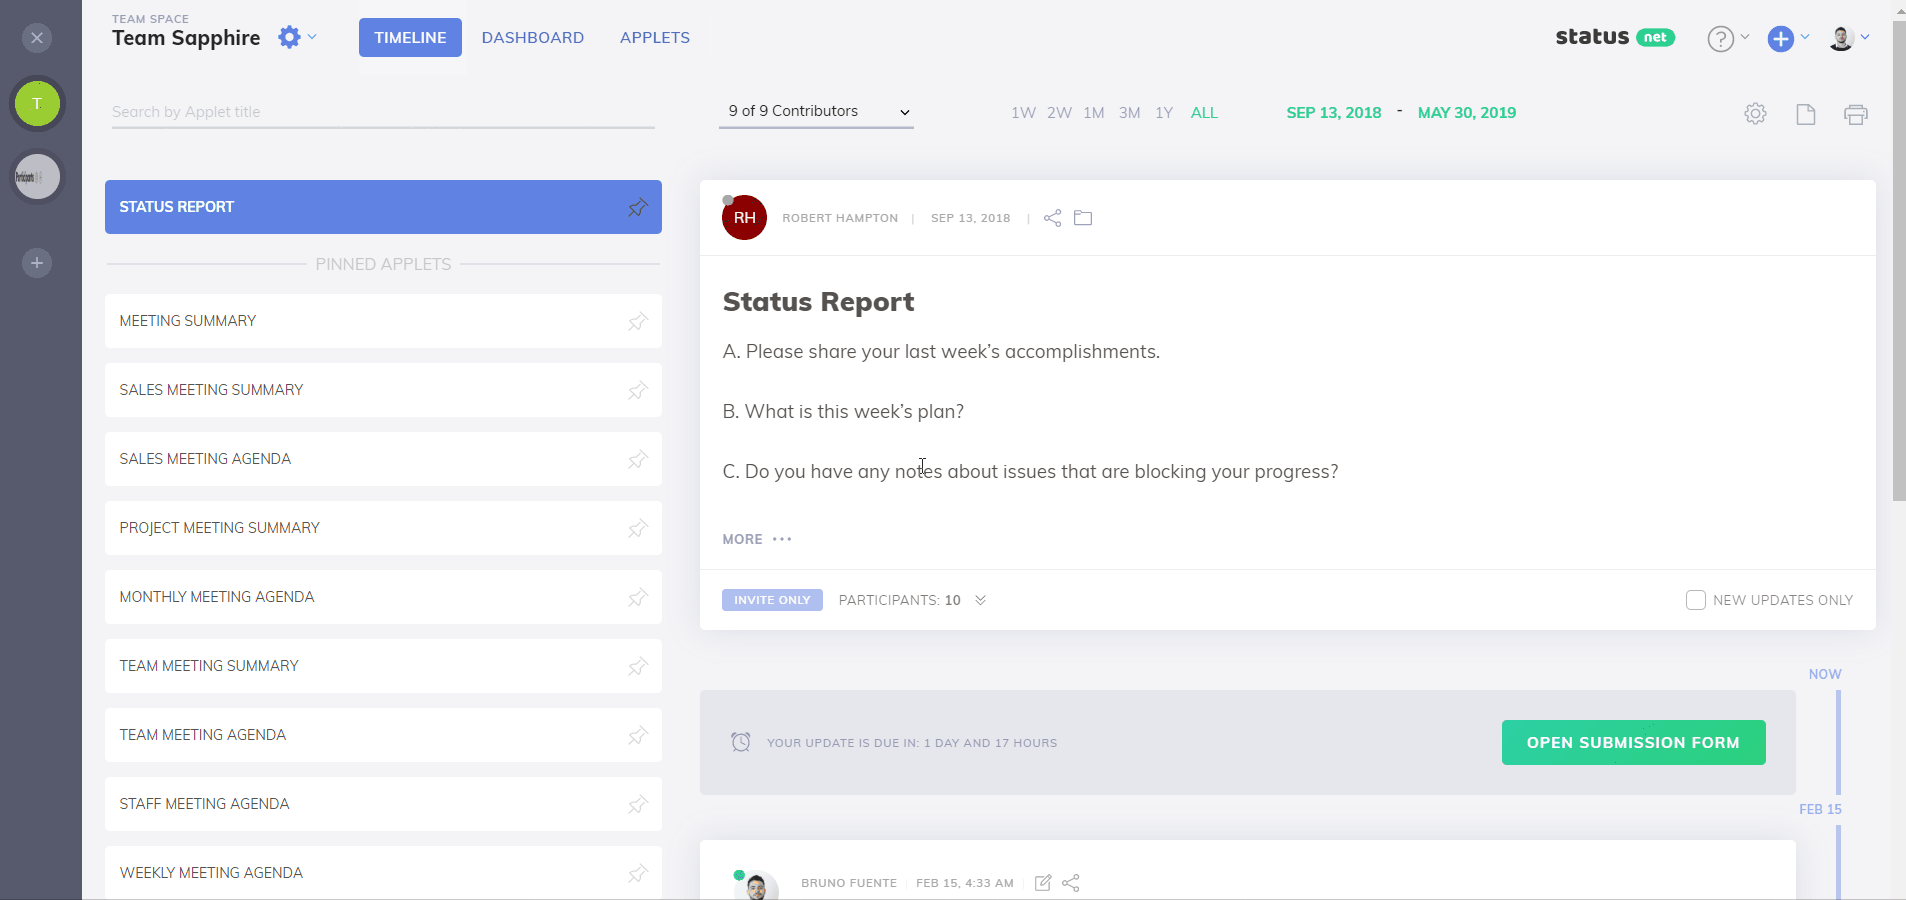
- Click APPLETS on the top menu to go to the Manage Applets screen and choose your applet.
- Click "Edit applet", then choose the "Connections" tab. Click "+" to create a new trigger, and scroll down to choose Webhook.
- Make sure the notification is turned On and click "Edit".
- Edit notification Name - this name will be visible everywhere next to the updates.
- Copy the webhook code.
Step 2: Configure the app that will post updates to your ProsperForms applet
1. Login to the web application you're connecting (app that will send updates to your ProsperForms applet)
2. Open webhook settings in that app and paste the ProsperForms webhook code into the url/endpoint input field.
3. If this app provides several events to send notifications about - select one event per connection. This will allow you to customize the record text to be unique and provide much more useful data for each event.
4. Different apps will provide different types of events. Check the app's documentation to find out more about events for that specific web app.
Step 3: Configure the record template
Option 1 - generic records:
Generic records are the easiest to configure. Every time an event happens, the connected app creates and posts a record according to the pre-defined template that will always be the same.
1. Enter any text you'd like to be posted to your applet's Timeline when a new notification is received from the connected app.
For example, if new connection is listening to the newly submitted orders, you can enter
"We've got a new order. Yay!".
This record will be submitted automatically whenever a new notification is received from the connected app.
2. You can style automatic records the same way you usually do this when your users submit a record: you can use rich font formatting and include emojis.
Option 2 - enriched records:
3. Optionally, you can enrich automatic records by adding unique details about each notification. This is done by adding properties to the record template.
For example, you could enrich your static message to become:
"We've got a new order #{{ order_id }} from {{ customer_location }} for {{ ordered_item }}. Yay!"
This template will be translated into unique record every time and will include unique properties of each order.
"We've got a new order #128 from Annecy, France for Special T-Shirt. Yay!"
"We've got a new order #129 from New York, USA for Cool Sticker. Yay!"
This way you and your team get all the details right into the ProsperForms applet and can discuss them in comments.
Please note: These properties are unique values that are being passes together with each notification. Their names differ from app to app and you should check the connected app's documentation to see which properties each event type passes along.
TIP: If you use connected web apps for internal records, you can enrich your update message template with user @mentions to trigger specific team members for specific events.