
Connecting Zapier
Zapier allows you to connect 1000+ apps to your status applets.
New records will be automatically posted by connected web apps. You can connect multiple apps to one status applet by creating multiple notification types for that applet.
Here is how:
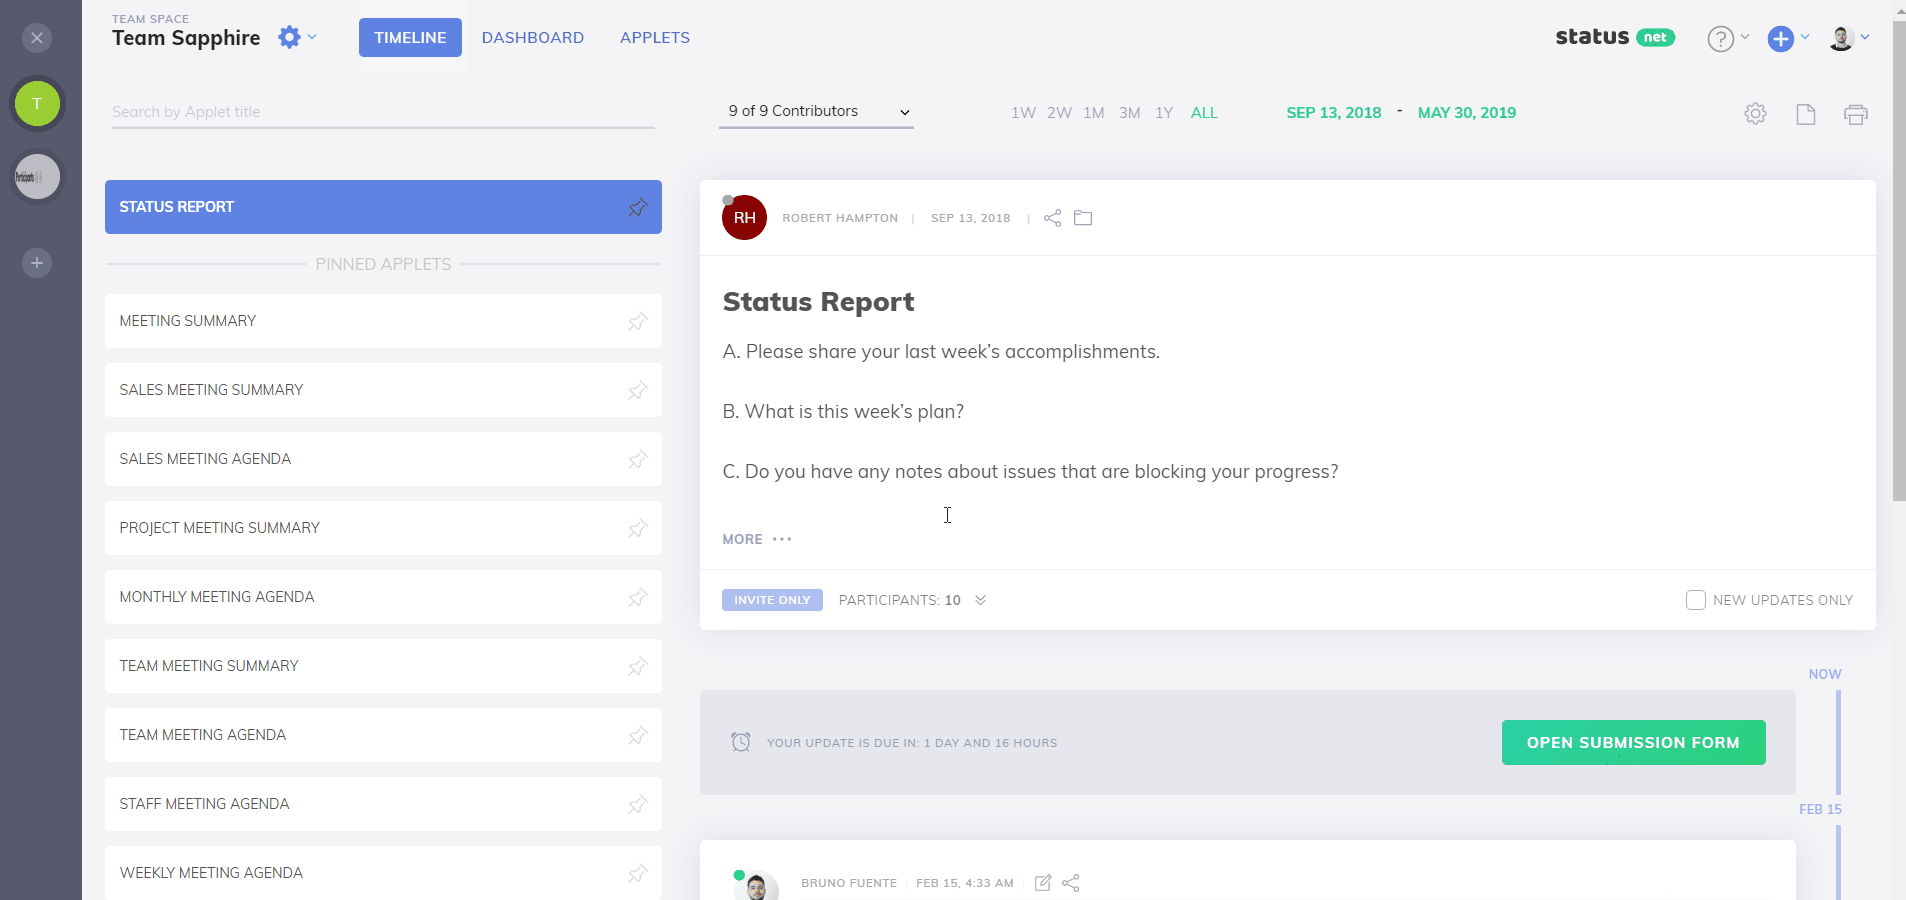
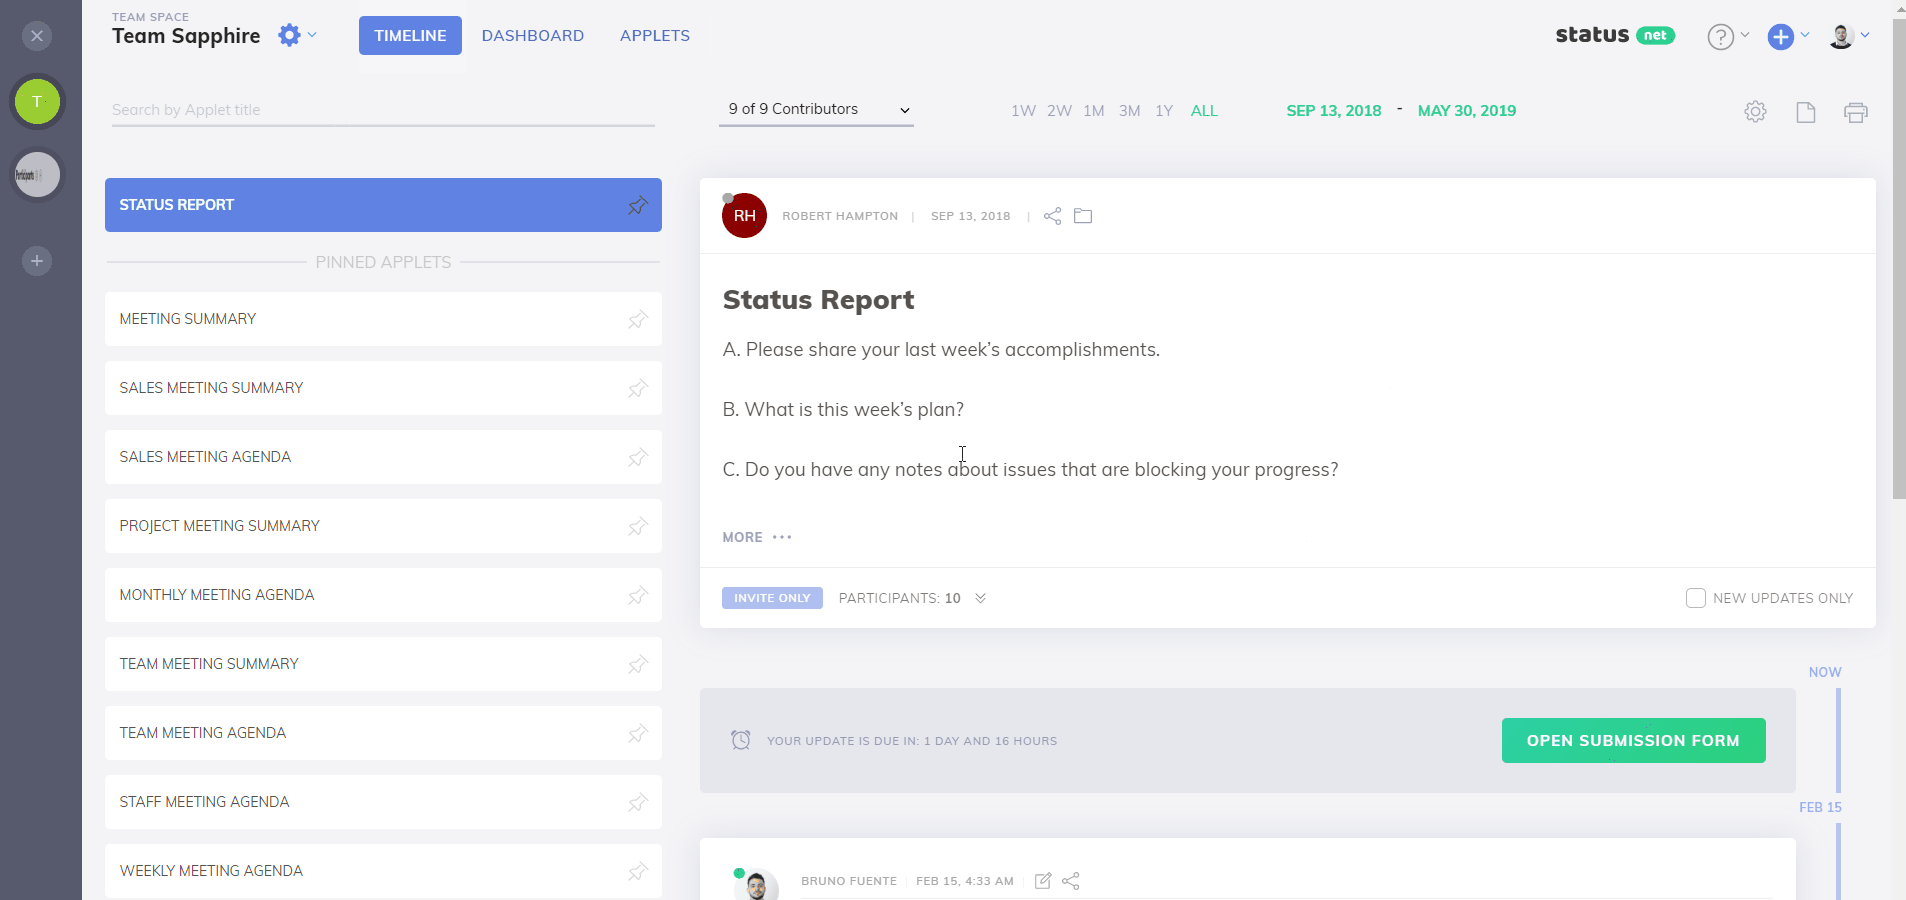
Step 1: Create a new notification type on ProsperForms Platform
- Login to your ProsperForms Platform account. Go to the Manage Applets screen and choose your applet.
- Click "Edit Applet", then choose the "Connections" tab. Click "+" to create a new trigger, and scroll down to choose Zapier.
- Make sure the notification is turned On and click "Edit".
- Edit notification Name - this name will be visible everywhere next to the records.
- Copy the webhook code.
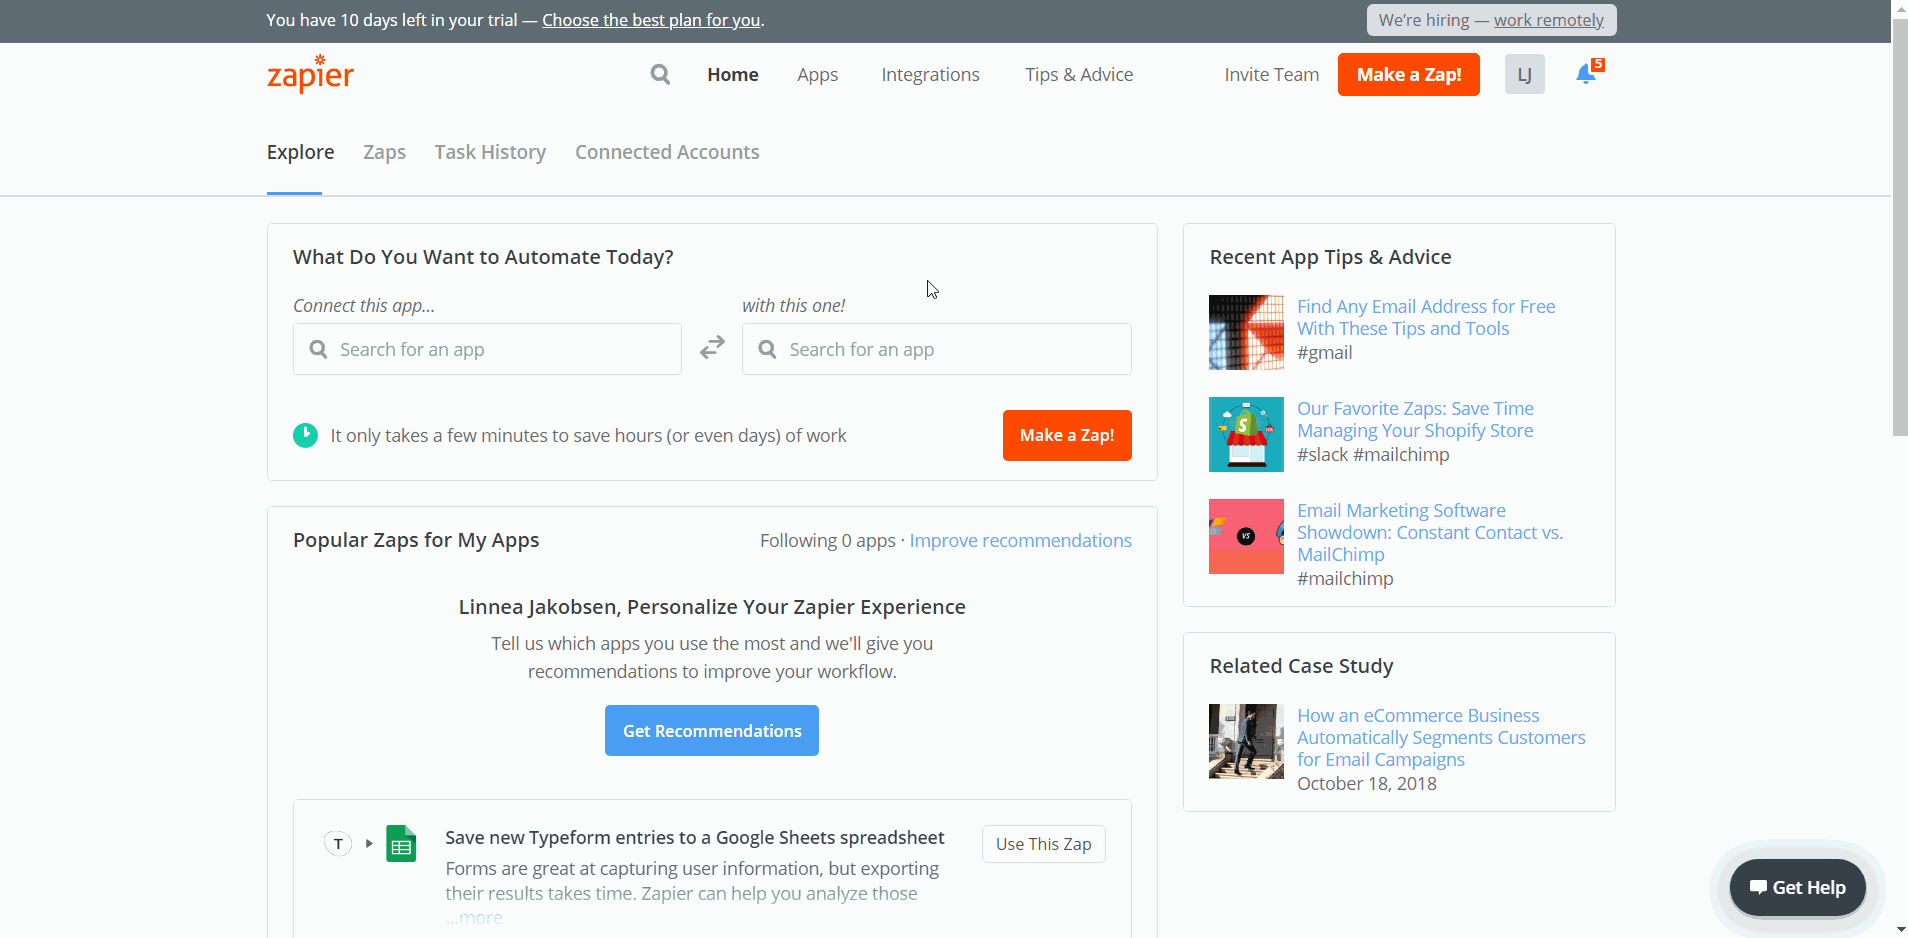
Step 2: Configure the app that will post updates to your status applet via Zapier
- Login to your Zapier account and click "Make a Zap".
- Choose the web app you want to connect as the Trigger app.
- Choose the action (e.g. new subscriber, new customer).
- Choose "Webhooks by Zapier" as the Action App.
- "CREATE" -> choose "Post" and under "URL (required)" paste the ProsperForms Platform webhook code.
- Choose "Json" as the Payload Type.
- Under Data click "+" to add type of data which you want the web app to post.
Assign a descriptive one-word name for it - you will later use that name when composing the record template.
For example, you can not use "order id" or "customer location" - make it "order_id", "oderid", "customer_location", or "customerlocation". If you use any spaces it won't work. - Click "Finish". Make sure your new Zap is toggled ON.
Step 3: Configure the record template
You can style automatic messages the same way you usually do this when posting records from users: you can use rich font formatting and include emojis.
- Login to your ProsperForms Platform account and go to Manage Applets screen, then choose your applet -> "Connections" tab.
- Click "Edit" to edit your notification.
- Use properties that you created in Zapier to compose your update message template.
Examples:
"We've got a new order #{{ orderid }} from {{ customerlocation }} for {{ ordereditem }}. Yay!"
This template will be translated into a unique message every time and will include unique properties for the each order:
"We've got a new order #1238 from Annecy, France for Special T-Shirt. Yay!"
or
"Someone from {{ customerlocation }} just ordered {{ ordereditem }}!"
into
"Someone from New York, USA just ordered Cool Sticker!"
Important! Make sure all the inputs are accurate. Keep in mind it's case-sensitive, so if you named a location data type as "city" in Zapier, make sure to use {{ city }} and NOT {{ City }} when composing your update message template on Status.
TIP: If you use connected web apps for internal updates, you can enrich your update message template with user @mentions to trigger specific team members for specific events.