How to Set Up and Customize Applets for your Business in 3 Easy Steps
Step I: Customize the form
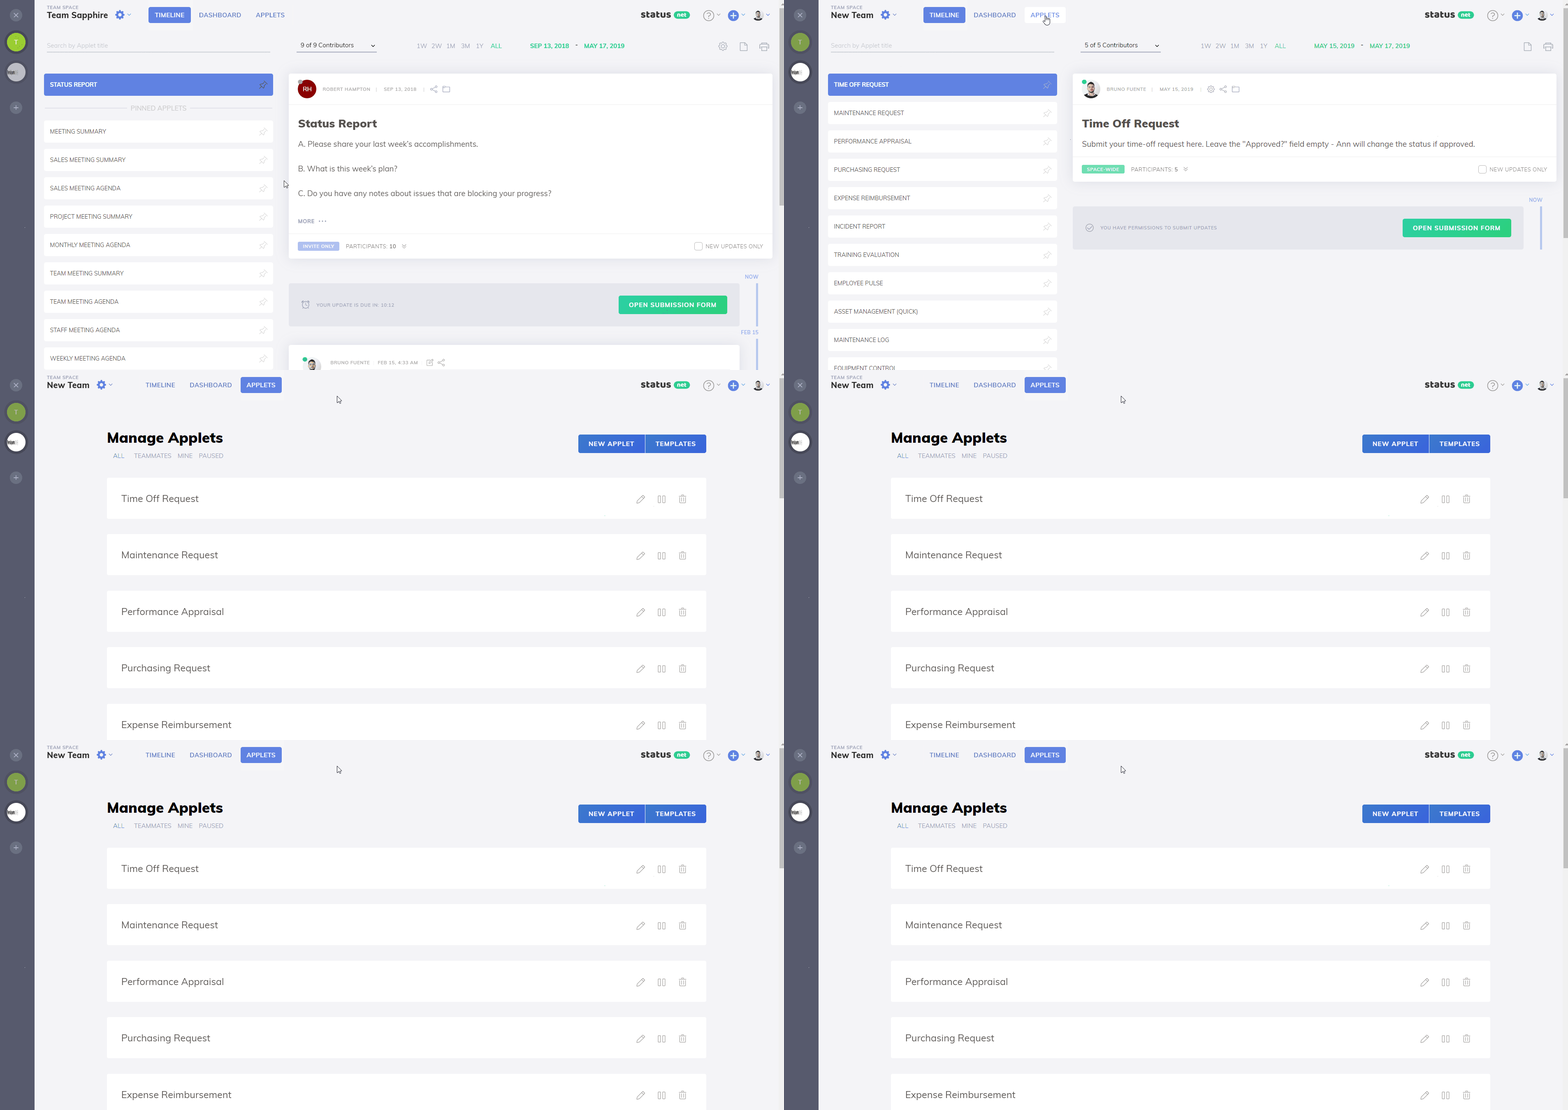
- If you're on the Timeline screen, click on the "APPLETS" button.
- Make sure the “Manage Applets” screen is open. Click on the applet’s name to open its settings.
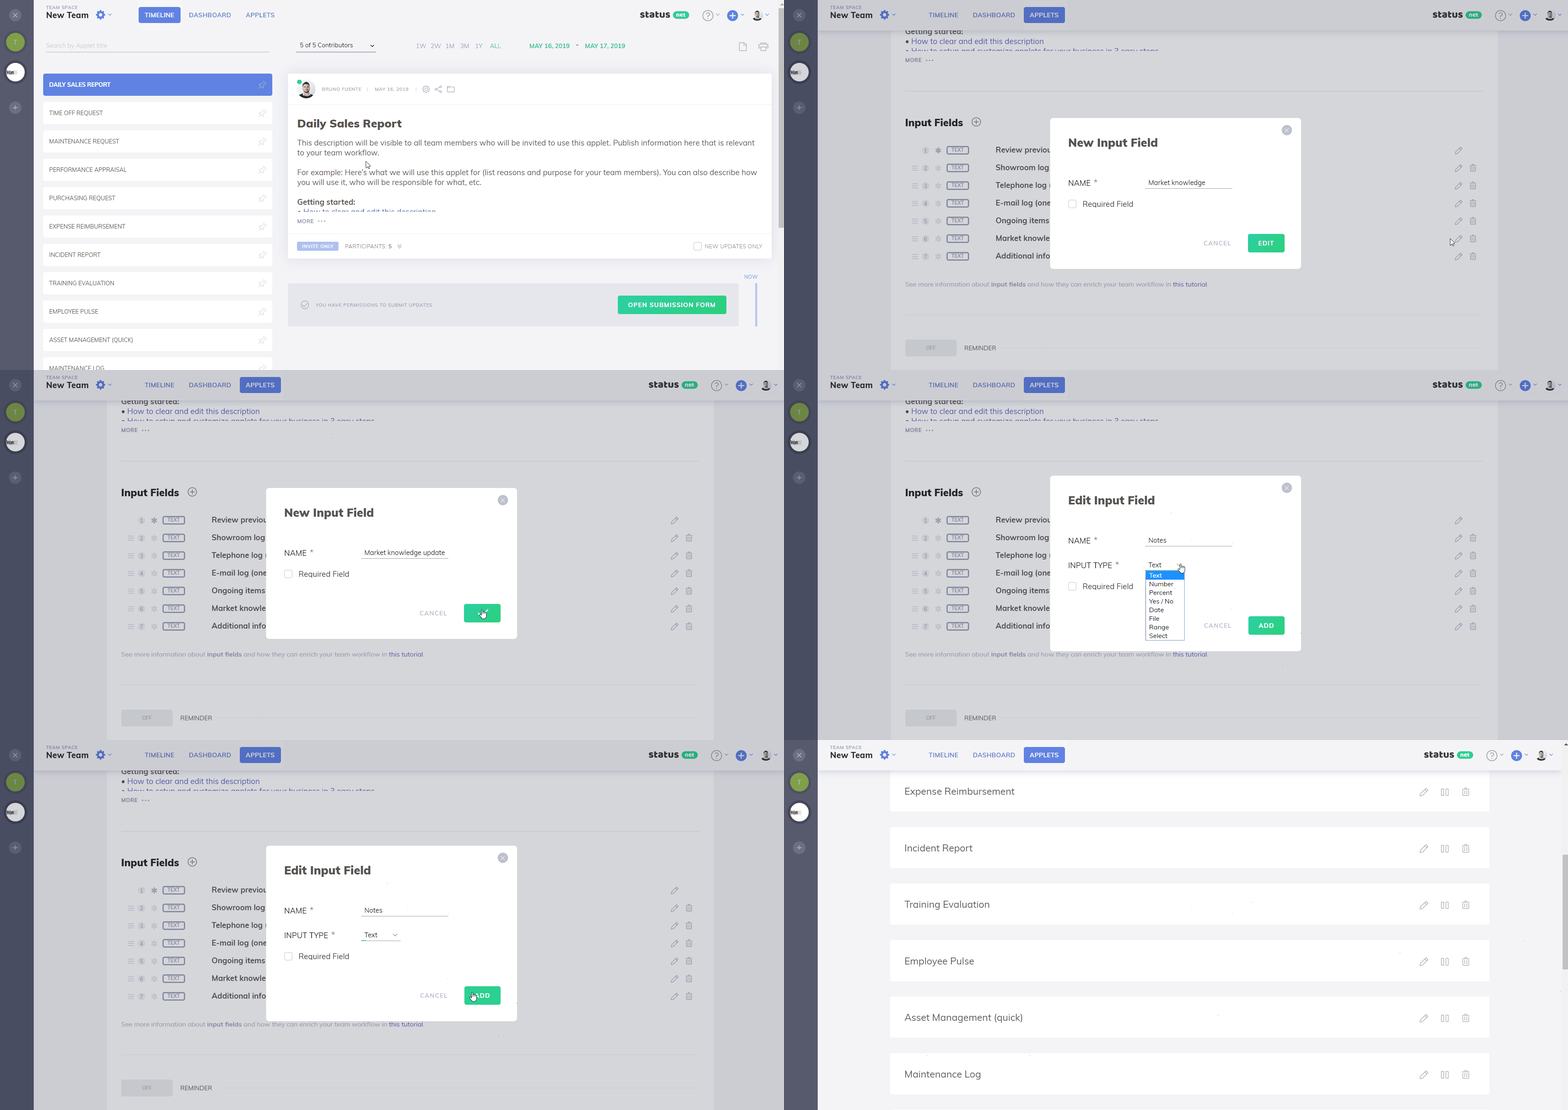
- On the applet's settings screen, click the “Form” tab to open the tab.
- Click “Edit” near the field to edit the name and type. Click “+” to add a new field. Drag and drop to change order.
- Click “Save”


Step II: Configure cadence (reminders)
This is an optional setting so feel free to skip this step if you don’t need it.
The Reminder setting configures how often participants will receive email reminders. This feature is optional and can be turned off.
- Click “On/Off” toggle near the ‘Reminder’ label
- Choose cadence
Examples of reminders
Example 1: A reporting applet will remind users to fill in their daily or weekly report.
Example 2: A maintenance management applet will remind users about regular maintenance.
Learn more:
How due dates & reminders work
How do I set due dates and reminders?

Step III: Configure participants
Before configuring participants make sure you have invited your team members to this space. Learn more about how to invite team space members and guests.
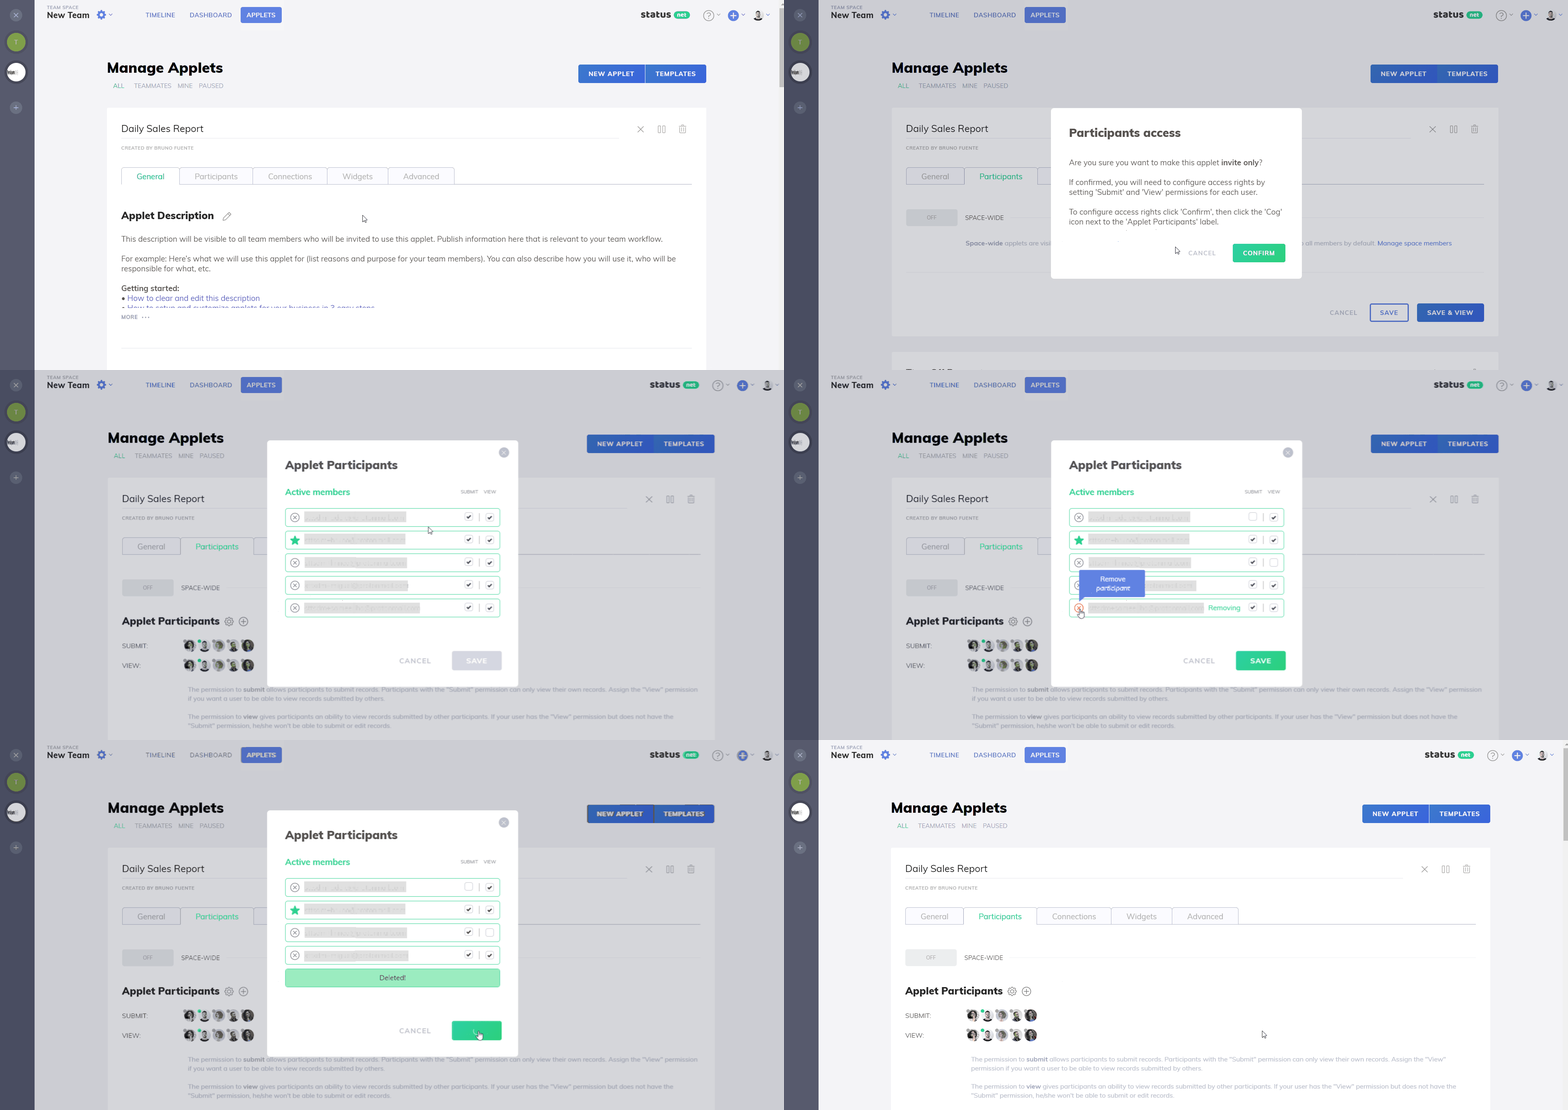
- Configure who will interact with the applet’s content (add and view entries) by choosing the “Participants” tab and then clicking the “Cog” button near the “Participants” title.
- Set the applet participants configuration as “Team-wide” if you want all team members to view each other’s entries.
- Alternatively, you can allow access to all entries to certain participants. In this case, turn the “Team-wide” mode OFF and restrict viewing by unchecking the “View” properties for other participants. Team members with the “View” checkbox unchecked will only be able to view their own entries.
- You can add, remove, and assign new team members at any time.
Team-wide applets
By default, applets have the “Team-Wide” property checked.
- Such applets are visible to all participants in your team space.
- All team space members can add new entries and view all entries added by other members.
- Team space guests can’t add any entries but can view all contents of team-wide applets.
Invite-only applets
To decrease noise, improve processes, ensure confidentiality of certain data, or more granularly configure reminders, you can make some or all applets invite-only.
- Click the “Participants” tab to open it.
- Click the “On/Off” toggle near the ‘Team-Wide’ label.
- Click the “Cog” button near the ‘Participants’ label.
- Add/remove participants and configure the permissions for each participant.
Learn more about participants and permissions
Don’t forget to edit the description. Done!

Depending on the applet’s purpose there are different ways to work with it. Learn more about the “Information card” applets vs. “Operational” applets.
